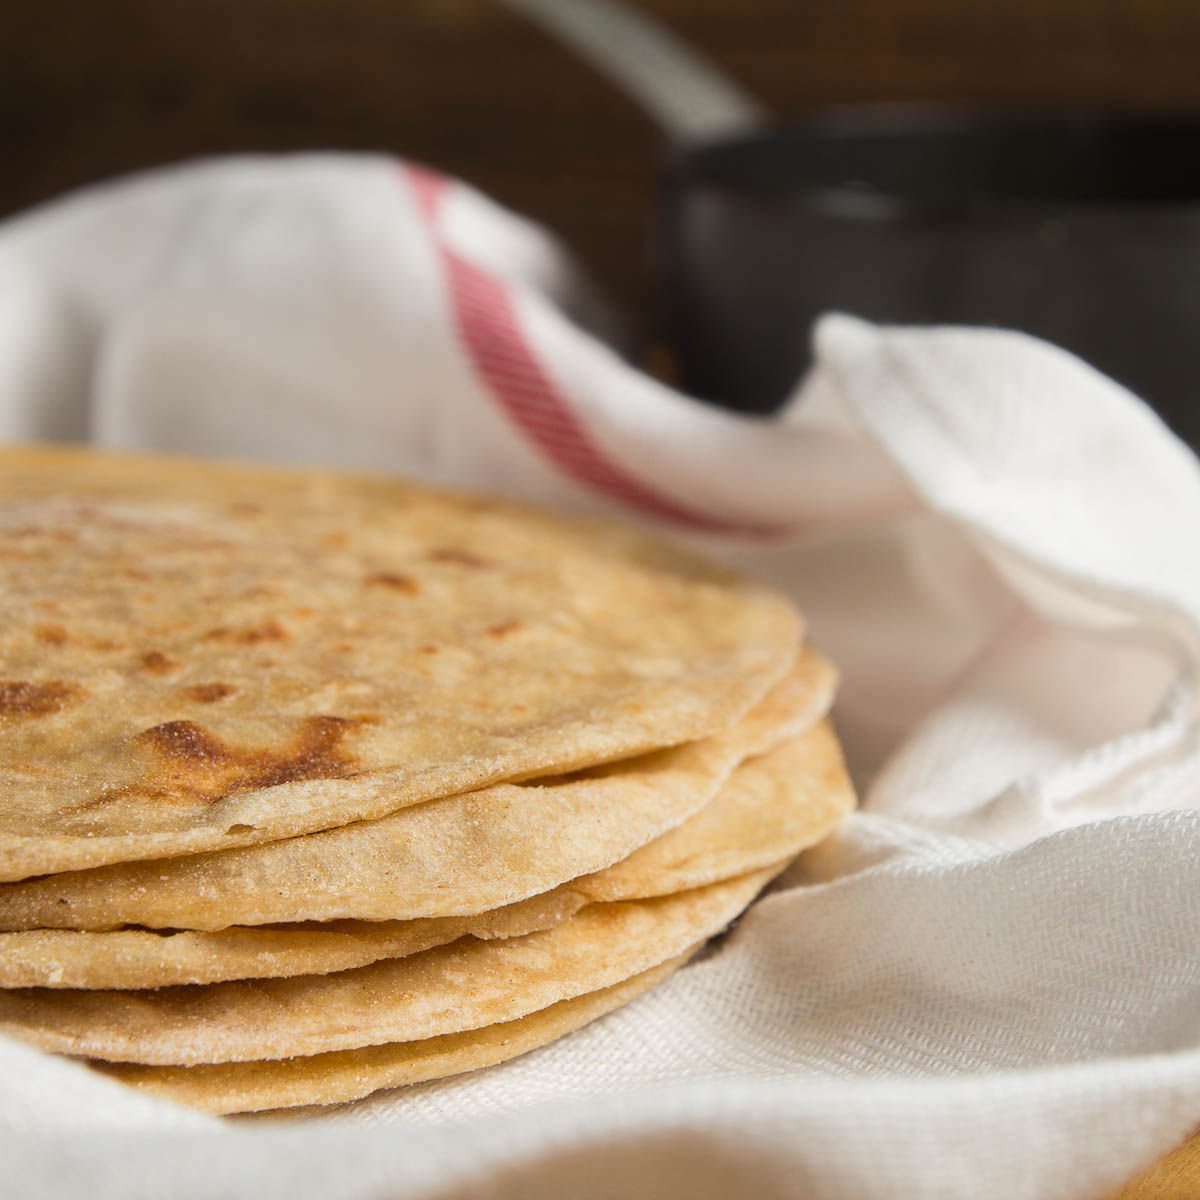
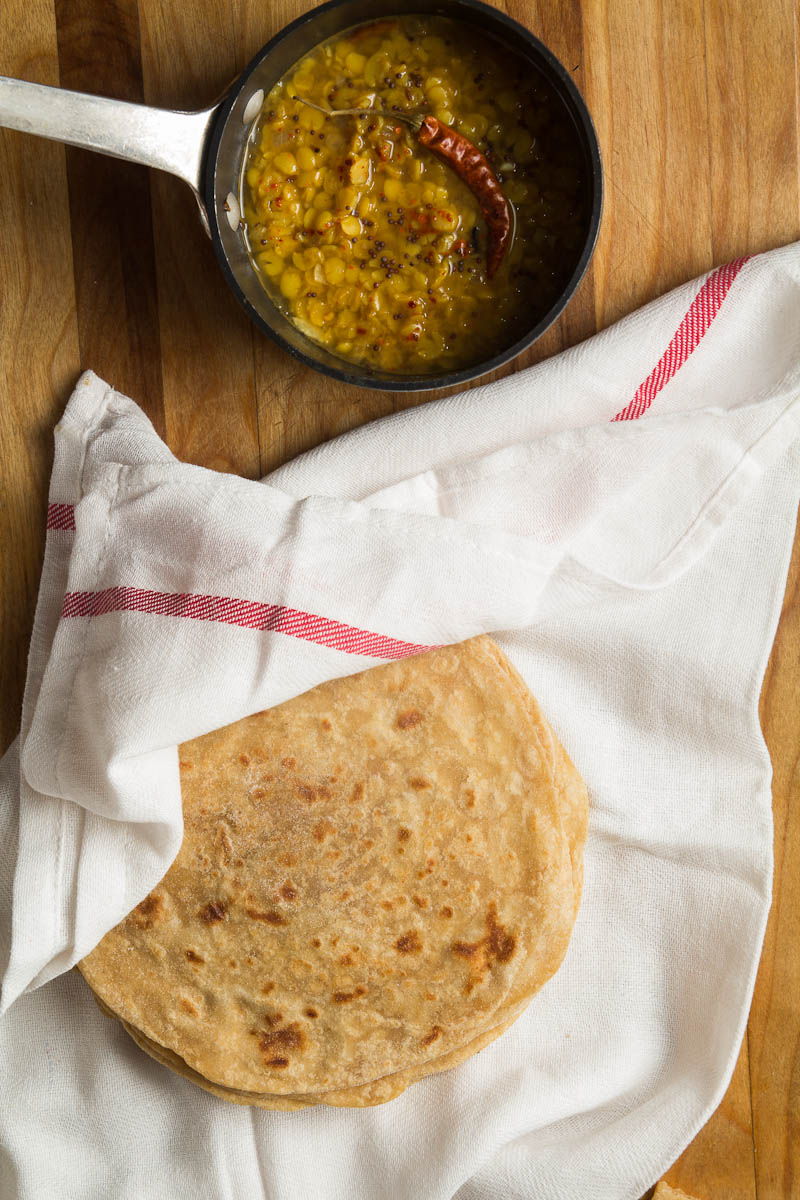
Parathas are unleavened Indian flat bread that are much thinner than naan and thicker than roti (also known as a rotli or chapati). My mom would make these all the time.
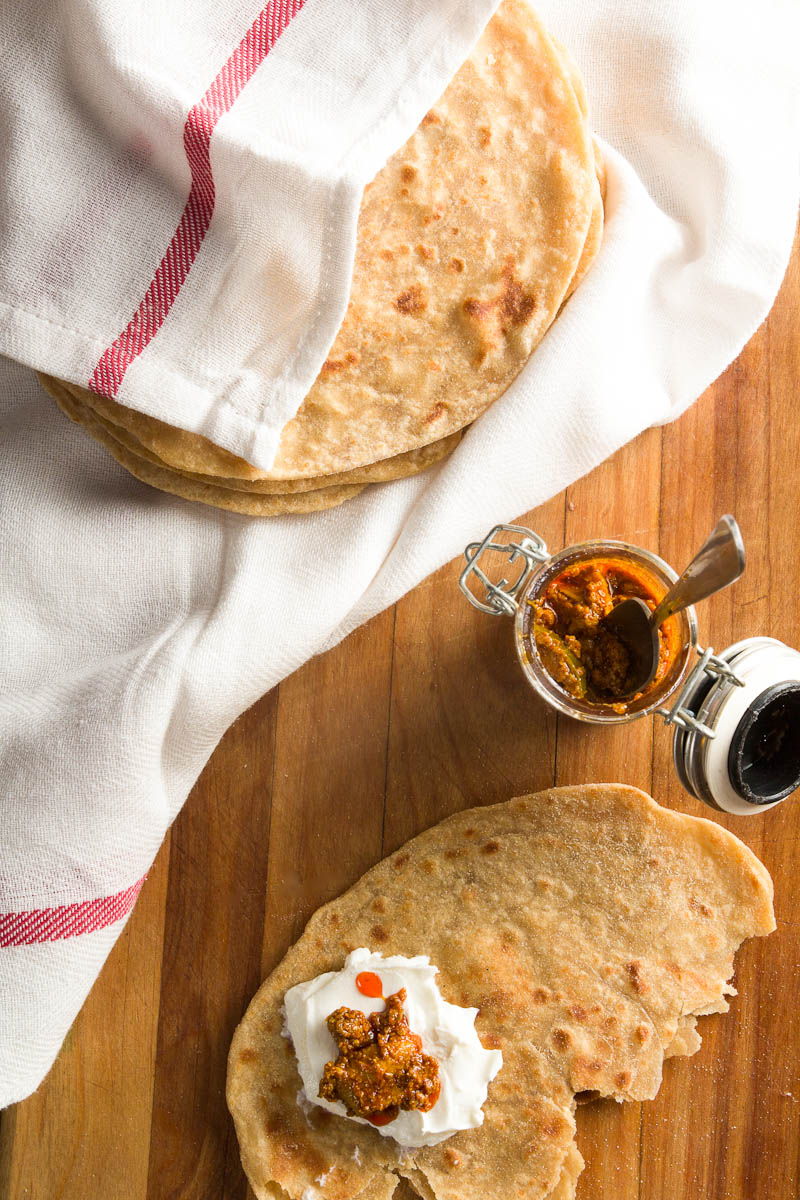
My mom would make basic ones like I’ve made today; or she would throw in spices, vegetables or greens she had on hand to add flavor or make them healthier; or on occasion she’d even stuff them with a potato or cheese filling. They were all delicious! I love them so much that I will happily just eat a paratha plain with a little butter, yogurt or pickle.
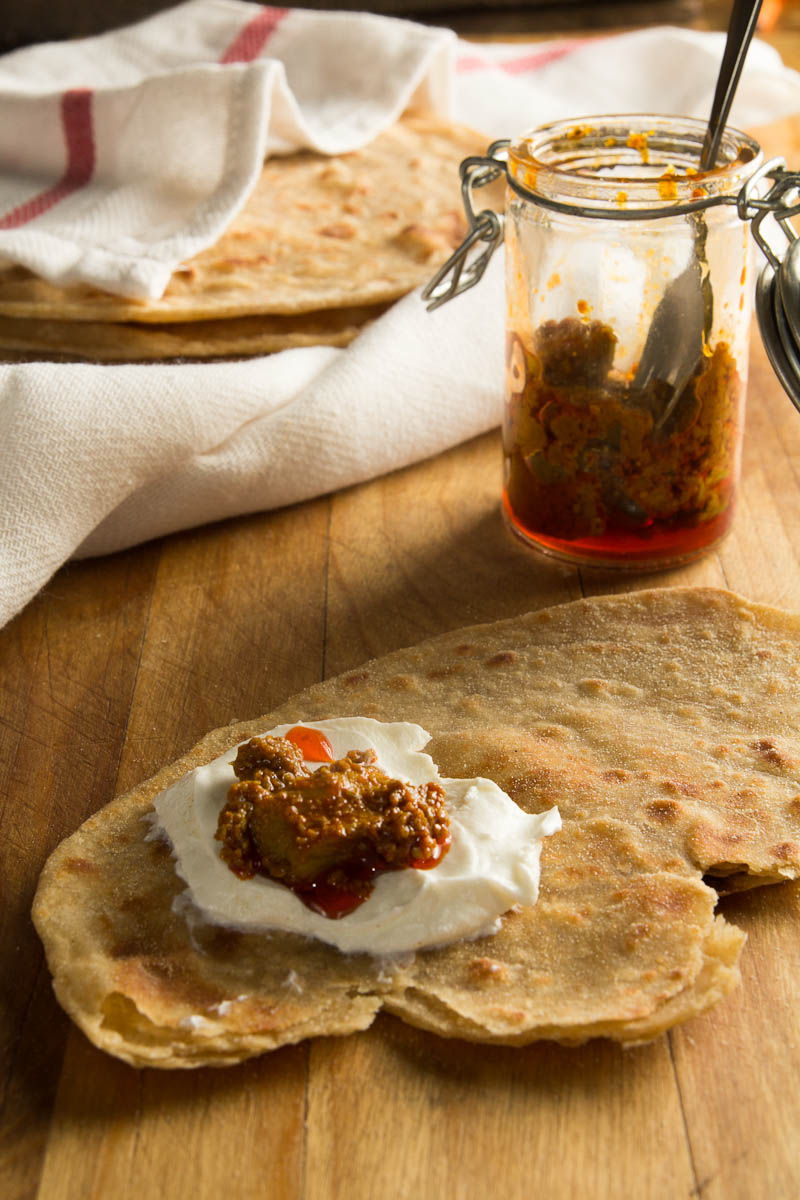
When I moved to Washington D.C. after college, I found myself regularly craving parathas. I’d often make them to share with my roommate and I’d make extras to take for lunch the next day. It made me really feel like a busy career woman. I didn’t even have chapati flour, which is a finely milled whole wheat flour that is used for roti and paratha. I’d make my parathas with a mix of grocery store whole wheat and all-purpose flours. Or I’d make a flakier version, called laccha paratha.
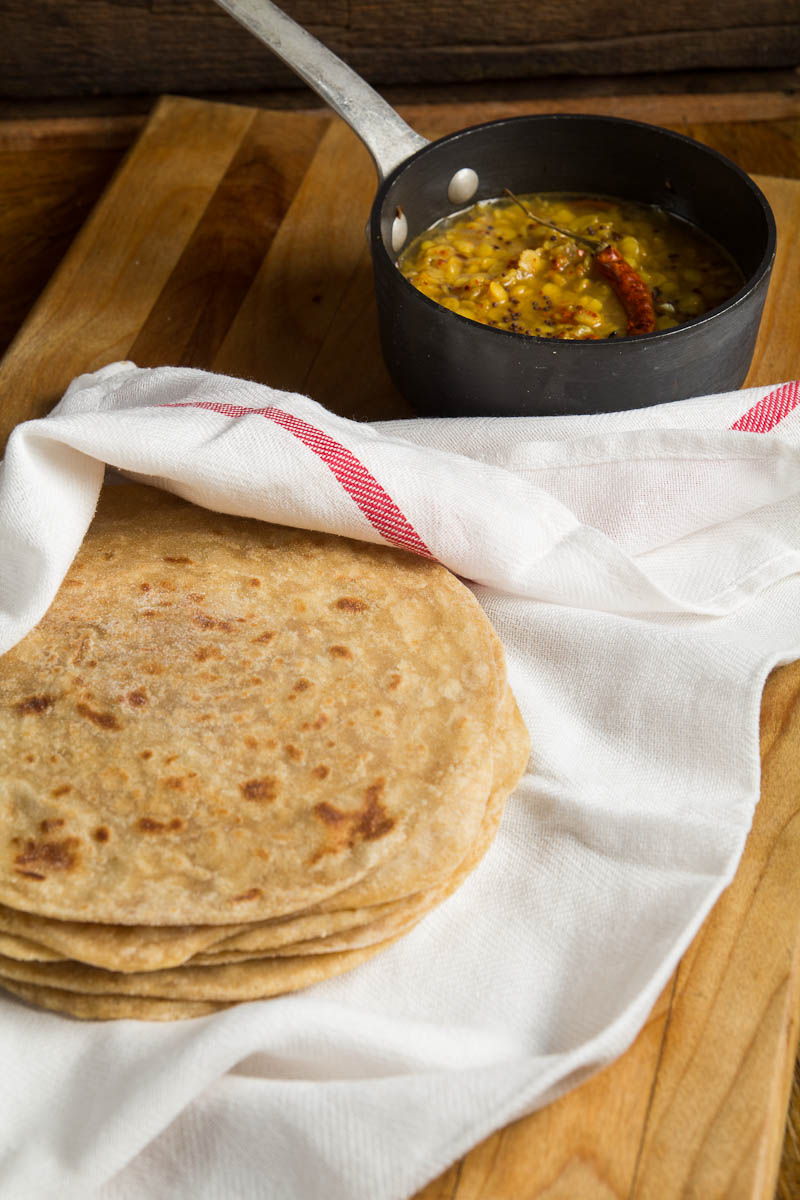
I love these simple everyday parathas because when you get the technique down, you can get really creative. Once you learn how to make these, you can add grated vegetables like zucchini or cabbage to the dough. You can add chopped greens like spinach or kale to the dough, like this kale quinoa paratha. Or best of all, you can stuff them with a spicy mashed potato mixture to make aloo paratha.
The variations really are endless. Hope you enjoy these parathas as much as I do and I hope you find our first full video helpful!
Ingredients
- 2 cups chapati flour (a fine milled whole wheat flour also known as atta or rotli no lot )
- 4 1/2 tbsp vegetable oil or ghee (separated)
- 1/2 tsp salt
- 2/3 cup water (you made need a few extra tablespoons)
- 1/2 cup rice flour (for rolling. You can also use all purpose flour or chapati flour instead but rice flour will give you a softer texture)
Instructions
- In a large bowl, combine the chapati flour and salt. Mix well using either your fingers or a whisk.
- Create a small well in the middle of the flour and add 2 tbsp of oil or ghee. Mix in the oil with your fingers until you get a sandy texture.
- Add the water, a little at a time, and knead into a dough. You may need a few extra tablespoons of water if the dough feels tough. It should be soft and slightly sticky. Knead the dough for 60 seconds.
- Add 1/2 tsp of oil or ghee and roll the ball of dough in the oil. Cover with a kitchen towel and let the dough rest for 15 minutes.
- Once the dough has rested, knead the dough for a few seconds. Then divide the dough into two equal parts. Form each part into a 4 inch log. Break off one inch pieces from the logs, creating eight equal pieces of dough.
- Roll each piece of dough between your palms forming a ball and then press the ball between your palms to flatten, creating a disc shape.
- Take one disc of dough, make sure to cover the rest so they don’t dry out, and press both sides into the rice flour. Then roll out the disc into about a 4 inch round. Spread a 1/4 tsp of oil or ghee onto the surface and sprinkle a pinch of rice flour on top. Fold the round into quarters and then mush back into a disc. Dip the disc back into the rice flour and roll out into a 6 inch round. Feel free to dip back into the rice flour if the paratha starts to stick to the surface as you’re rolling.
- Heat a 12 inch cast iron skillet or a tawa (a cast iron pan specifically made for making flat breads) over medium low heat. Transfer the rolled out paratha to the pan. Let cook until you see bubbles forming. Flip the paratha over using a spatula. Drizzle 1/2 tsp of oil or ghee onto the side that was just cooked and spread it around with your spatula. Let cook for about 45 seconds to 1 minute. You will see more bubbles forming and you can check to make sure the paratha is ready to flip by lifting a side of the paratha and peeking under. If you see a few reddish brown spots beginning to form, it’s ready.
- Turn the heat up to high and flip the paratha one more time. This time, press onto the paratha with your spatula for about 30 to 40 seconds. This will help it puff up.
- Flip the paratha back over and press the other side with your spatula for a few seconds.
- Turn the heat back down to medium low.
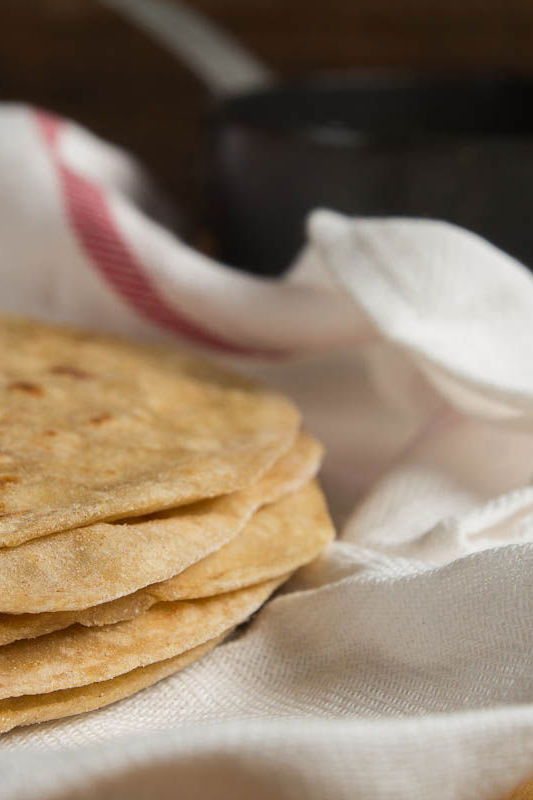
- Stack the paratha on a plate and keep covered with a tea towel until ready to serve.
Notes:
Substitutions: If you don’t have chapati flour, you can still make this without having to find a specialty Indian grocer. Substitute 1 cup whole wheat flour and 1 cup all purpose flour for the 2 cups of chapati flour.
