Cucumber Raita is an essential side dish in Indian cooking. It is ever-present in home-cooking across India and equally so on restaurant menus. Cucumber raita is the most common of the many variations of raita in Indian cuisine.
Raita in general is made up of a combination of yogurt and cucumbers, beets, onion, pineapple, or boondi. But even a cucumber raita will vary by region and then even by the cook making the dish.
Cucumber raita is the best cooling accompaniment to any meal. It’s so quick and easy to make and compliments almost any Indian dish because of its cooling effect which balances out the spice.

Cucumber raita is a lot like Greek tzatziki, but unlike tzatziki, raita is usually made with chilies. But even with chilies added, raita cools the palette. Like milk, the yogurt helps to neutralize the spiciness and it’s even served cold, which helps the cooling effect further.
Raita is a very flexible dish with many variations. I’ve shared a modification of the one I grew up with but feel free to make it your own. If you want to leave out the cumin or the cilantro, go ahead.
You can choose to grate your cucumber using a box grater instead of finely chopping it if you prefer that texture better. You can also add a vaghar (tadka; tempering spices) of mustard seeds and curry leaves if you like. In my home, cucumber raita always included mint but that can be optional too if you’re not a fan.

However you decide to make it, cucumber raita is a wonderful pairing with biryani, vegetable curries or really just about anything. Some restaurants will add a little sugar to their raita to sweeten it up. But I come from a Gujarati household, Guju’s add sugar to everything but we didn’t add it to Raita. I’ve never liked it that way.
In my family we didn’t eat cucumber raita a whole lot. Often we simply ate yogurt with some salt and cumin with our meal. Growing up, my brother and I each had our favorite raita as well and it wasn’t cucumber raita.
Boondi (little fried chickpea balls) raita was my favorite and pineapple raita was my brother’s. So the poor cucumber raita only came out when we had guests.
As an adult I really appreciate the cucumber raita a lot more as it is so much healthier than the boondi raita that I love.
When Making Cucumber Raita Ahead of Time
If not serving the raita immediately, mix all the ingredients except the cucumber and refrigerate the yogurt until ready to serve. Add in the cucumber just before serving.
Letting the raita sit for a long time after adding in the cucumber will cause the cucumber juice to separate and pool liquid into the raita. This is totally fine. Just stir it back into the raita. Over time, it will cause the raita to get too watery.
If I am prepping in advance, I will mix all the ingredients together ahead of time and add in the cucumber at the last minute to avoid a watery raita. But I will happily eat raita the next day.
The texture is just a bit thinner. You could also choose to add a bit of salt to the chopped cucumber, let it sit for about 30 minutes and then squeeze out as much liquid as possible. Then add this cucumber to the yogurt.
You could also choose to add a bit of salt to the chopped cucumber, let it sit for about 30 minutes and then squeeze out as much liquid as possible. Then add this cucumber to the yogurt.
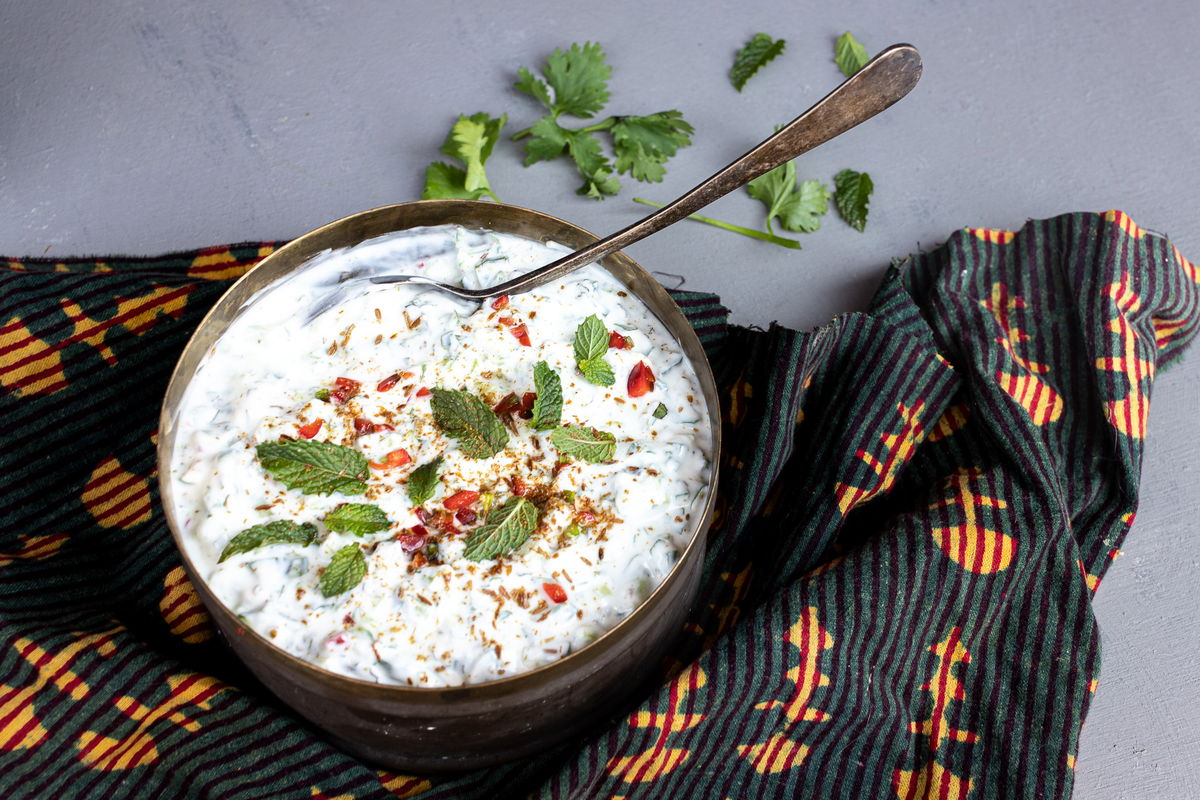
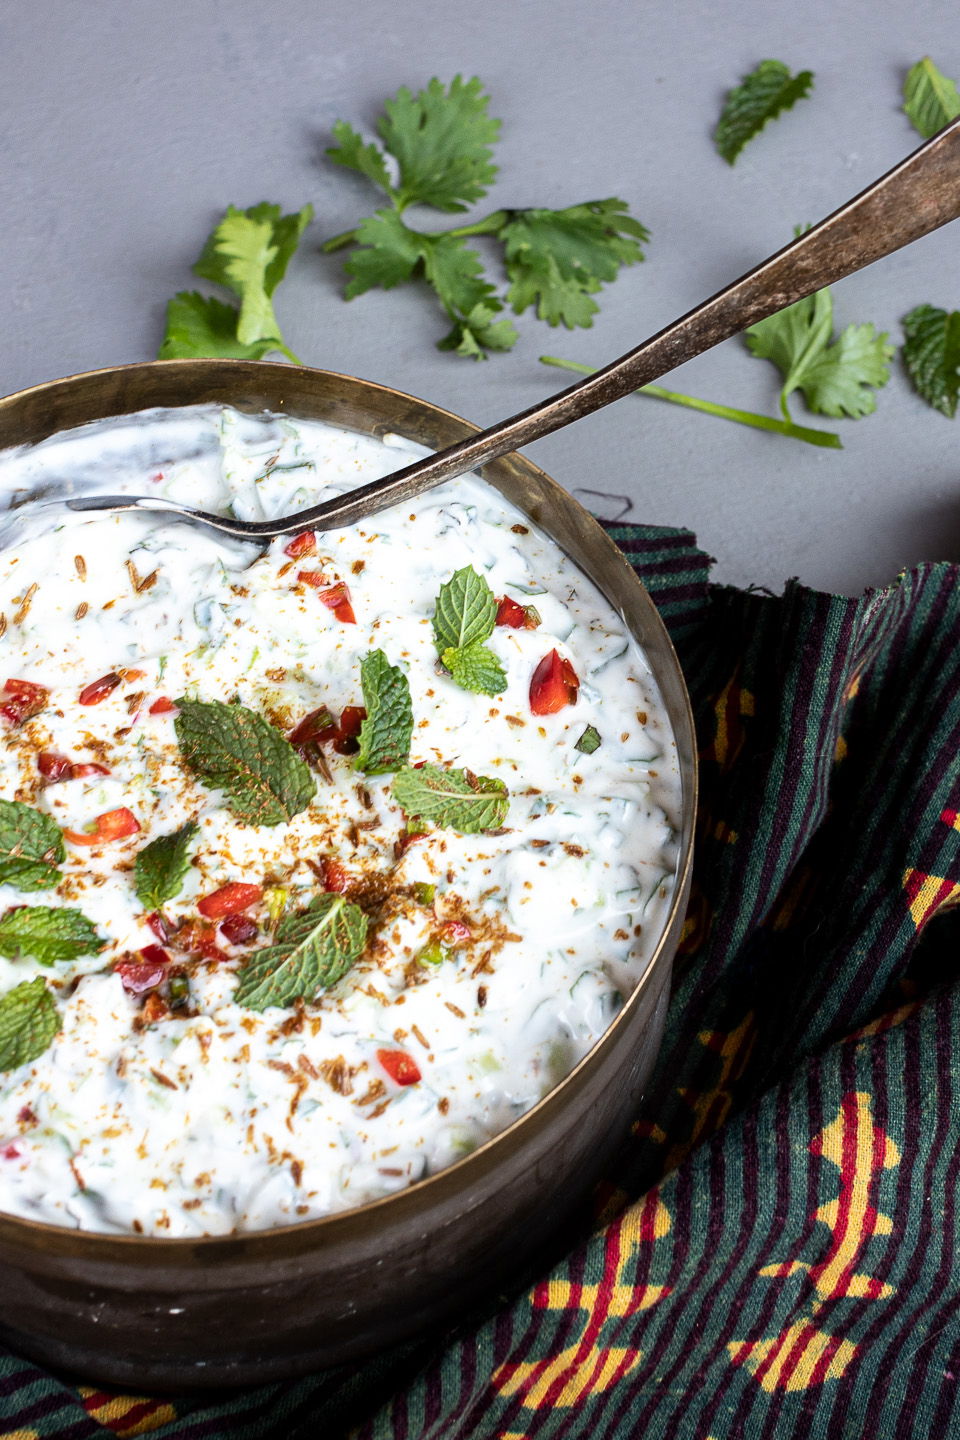
Cucumber Raita
Cucumber raita is the best cooling accompaniment to any meal. It’s so quick and easy to make and compliments almost any Indian dish because of its cooling effect which balances out the spice.
Ingredients
- 1 1/2 cups thick yogurt (either Greek style or strained)
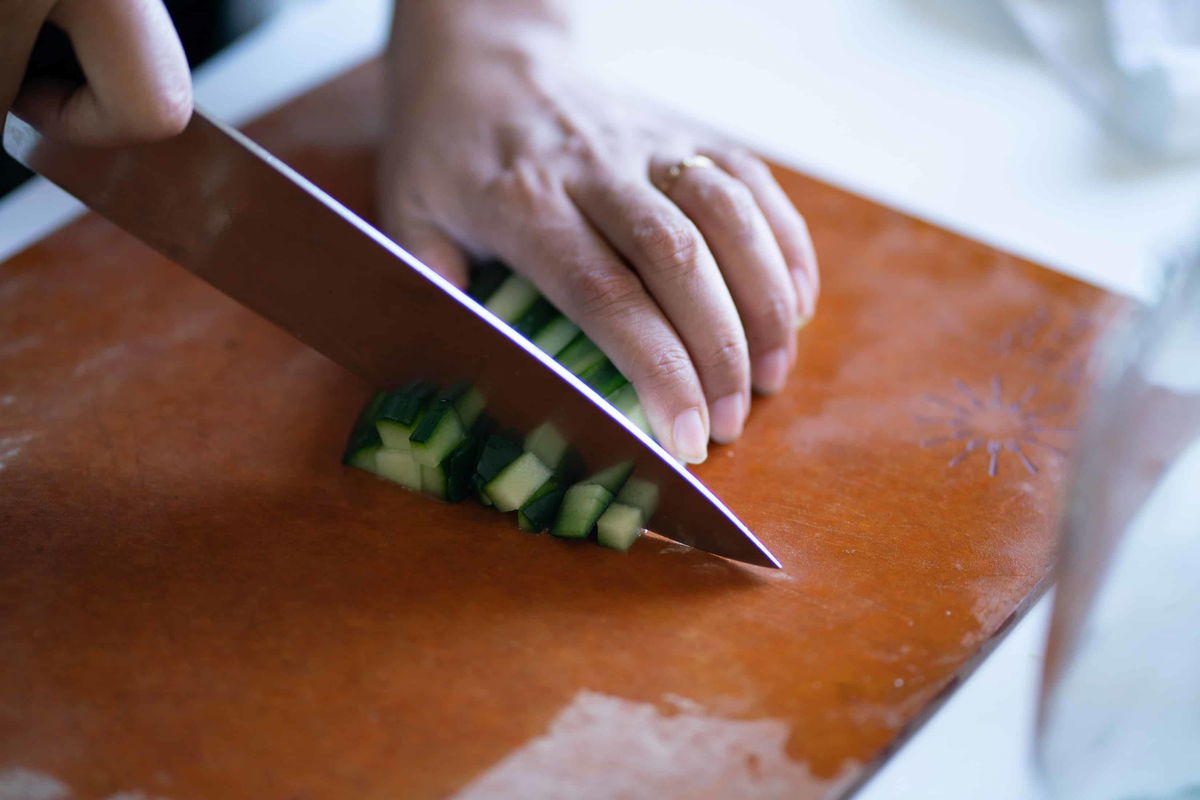
- 1 1/2 cups Persian or hot house cucumber (cut into very small cubes)
- 2 Tbsp cilantro (chopped)
- 2 Tbsp mint leaves (chopped)
- 1 tsp cumin seeds
- 1 green or red fresh chili (finely chopped (I used both!))
- 1/2 tsp salt (or to taste)
Instructions
- Add the cumin seeds to a cast iron or steel skillet and heat, stirring often, until fragrant. Keep a close eye on them so they don’t burn. Do not use a non-stick skillet as those are not meant to be dry heated.
- Remove from heat and roughly crush the cumin seeds in a mortar and pestle.
- In a large bowl, whisk the yogurt to remove all lumps.
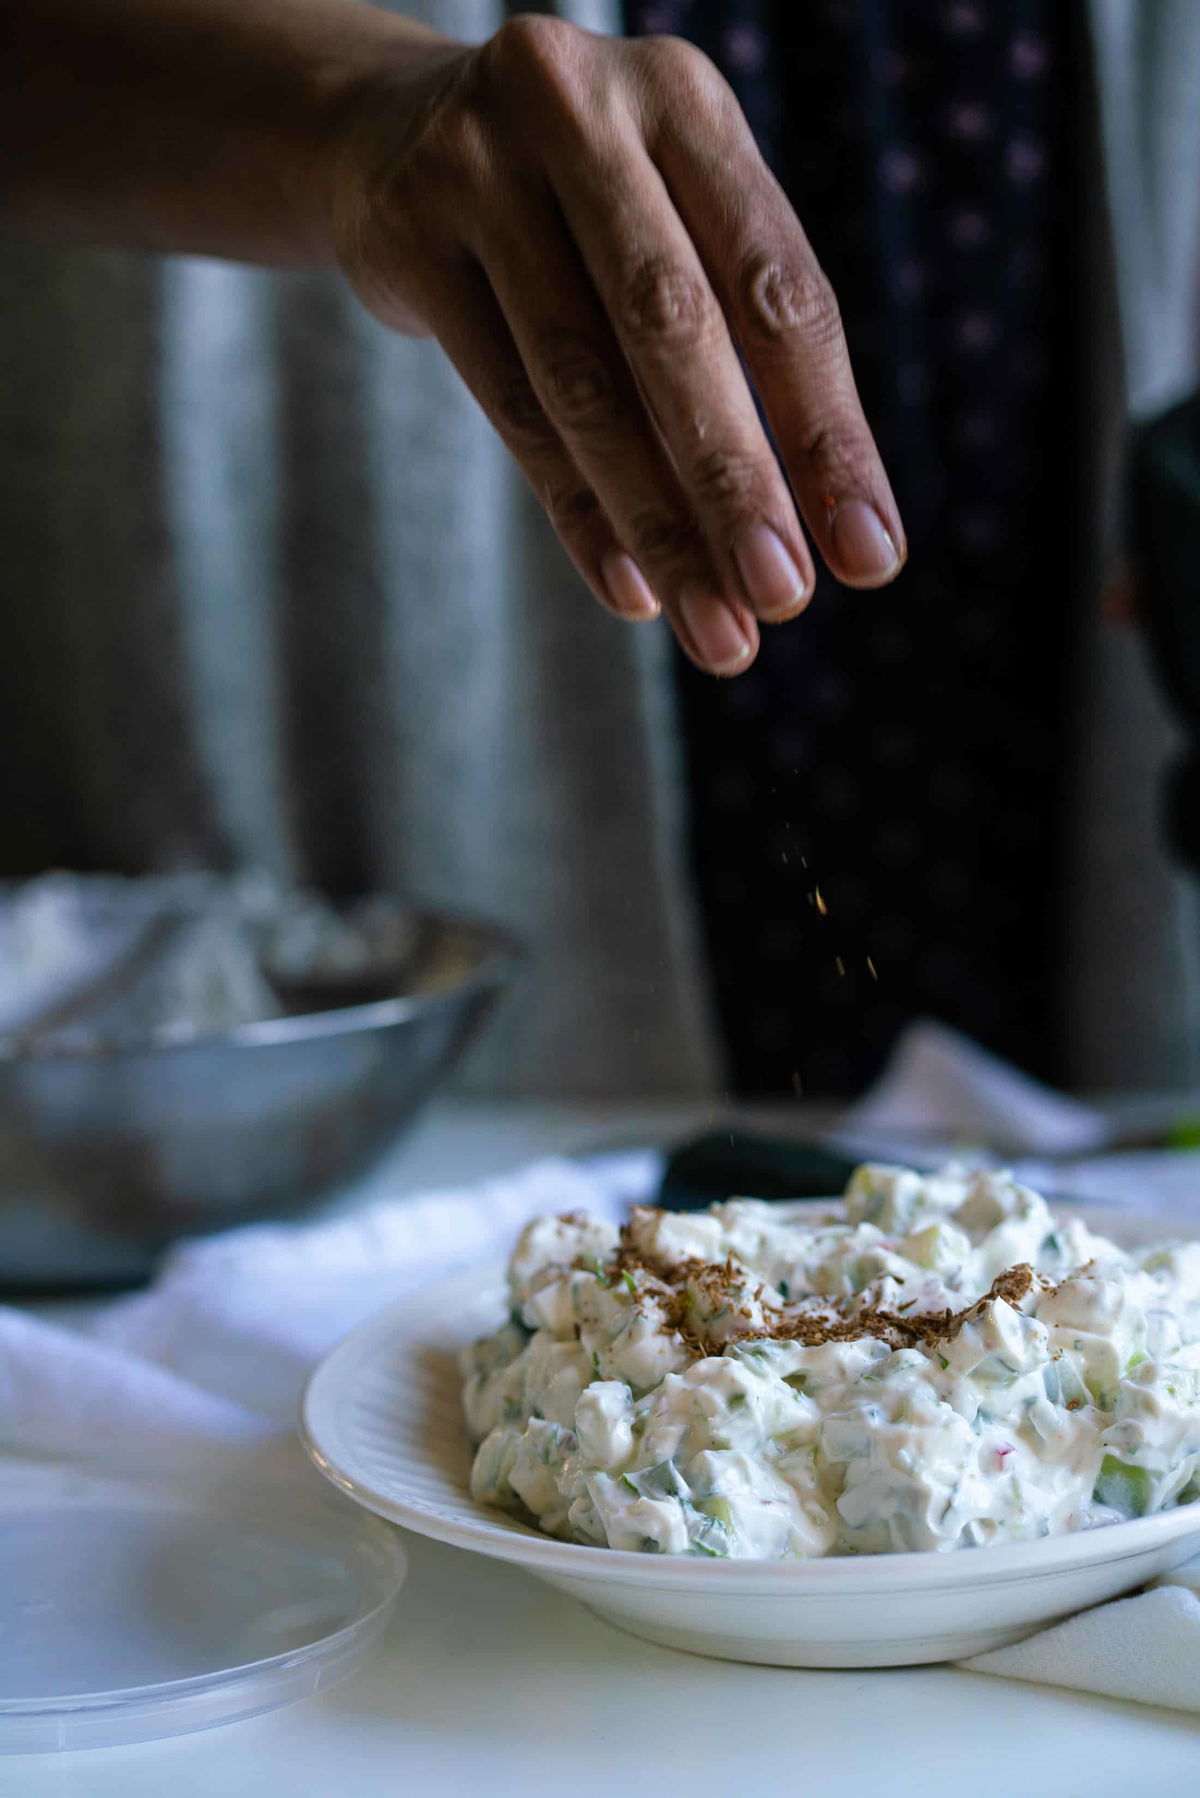
- Finish by combining all the ingredients in the bowl. Stir well to mix. I reserve a pinch of cumin for topping off at the end as a garnish.
Video

(Originally posted April 15, 2018. Updated August 18, 2022)